

What do I need?
Cloud application access
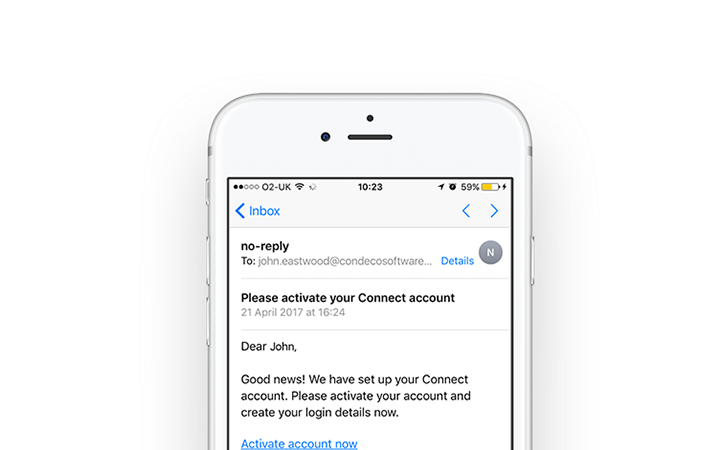
You should have received an email with instructions how to activate your account in the Connect Cloud application.
If not, please get in touch with your account manager or the reseller who sold you the screens. You need to have access to the
Cloud Application to set up your screens.
Exchange mailboxes
You also need to have valid Exchange mailboxes set up for your screens and a valid URL accessible for your
Exchange Web Service.
Your screens
If your screens are not already mounted to the wall, we recommend you have them ready next to your computer.
Power
You can power your screens using POE (Power over Ethernet) or a 12v Power Supply. Once you have configured your screen, you
can power it off until you install it. The screen will reconfigure itself to the previous settings.
What happens next?
01
Set up your account
Follow the link in the email invitation to activate your account in the Cloud. You need to do this to set up your screens.
02
Set up your rooms
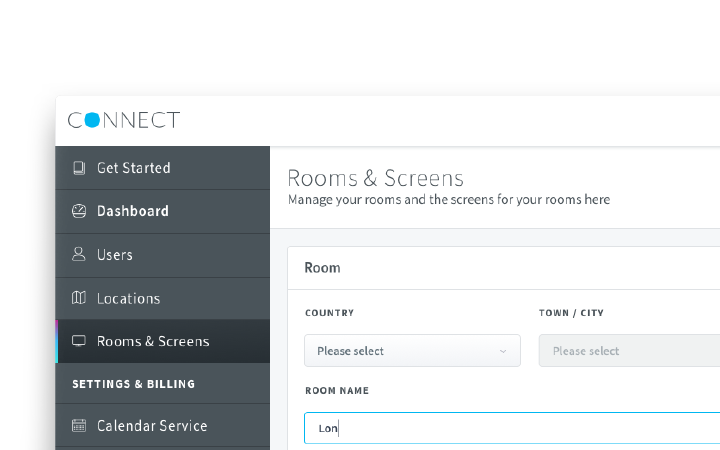
Once you have access to the Cloud Application, you can set up the locations and rooms, and the details of the Exchange Web Service and mailboxes to connect to. You’ll find more instructions once you logged into your Cloud account.
03
Plug in your screens and connect to the Network
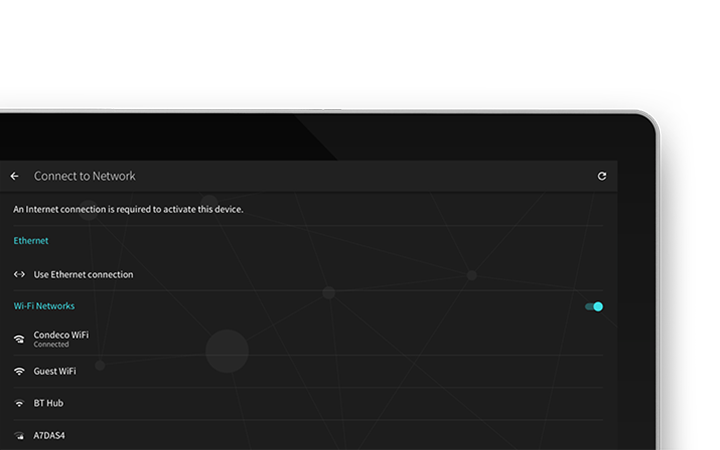
You can either power your screens using Power Over Ethernet, or by using a 12V power supply. Once your screens start up, you can select the regional settings and connect the screen to Ethernet or your Wifi Network. If there is a newer version of the screen software, it will automatically download once your screen is connected to the Internet.
04
Activate your screens
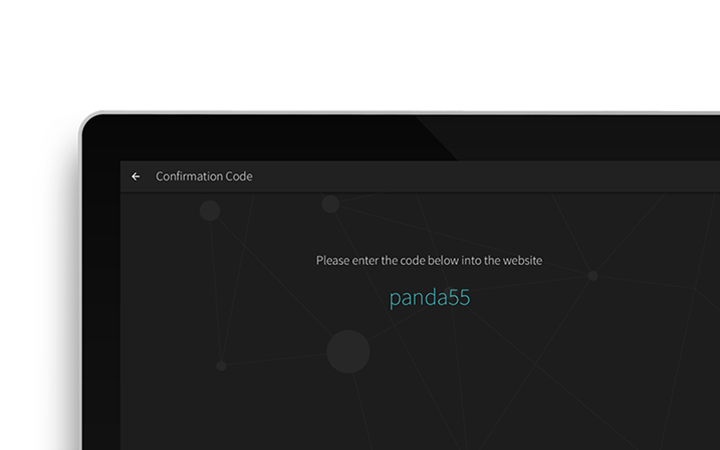
For each room, you need to generate a unique, short-lived activation code in the Cloud Application and enter it in the screen, and enter a code generated by the screen back into the portal.
05
Mount your screens
You can mount your screens to the wall (screws not supplied) or, using the sticky pad supplied*, to glass. For glass mounting, you may want to consider a manifestation behind the screen to hide visible cabling.
Find mounting instructions here